Fitting
You can find the details of our authorized fitter here.
Please be aware that we highly recommend professional fitting
These are for guidelines only, Carbon Factory Limited will not be held liable for any damages or liabilities that may arise from following these guidelines.
Any changes or modifications you make are your responsibility to ensure it is complete correctly and the part are fitted securely. If you do not have much experience, professional installation is highly suggested.
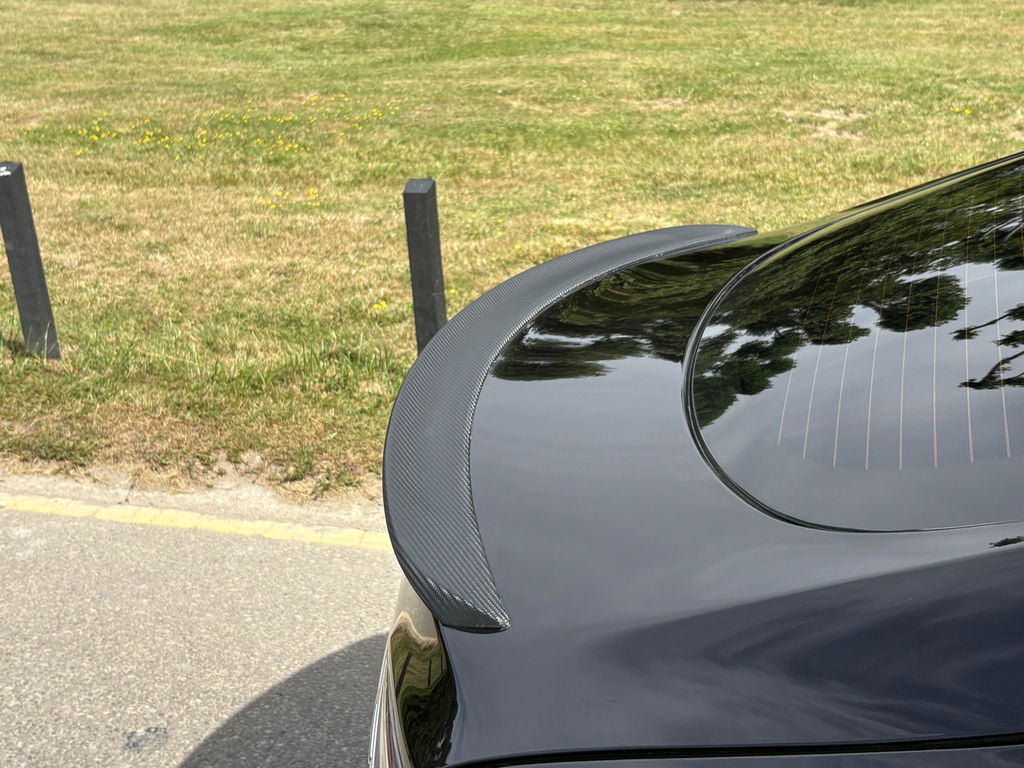
Boot spoiler:
- Place the spoiler on the car for initial test fit.
- Once you are happy with the fitment, use masking tape on the car around the edges of the spoiler, this will work as a template.
- Clean and degrease the fitting area and the back of the spoiler.
- Apply double sided tape on the back of the spoiler.
- Peel back 2-3 cm of tape cover on the edges of the spoiler.
- Align the spoiler with the template from step 2.
- Slowly peel off the remaining tape and maintain a small amount of pressure thorough out the process.
- Apply downwards pressure from above to ensure it is fitted securely.
- Use a heat gun to slightly heat up the spoiler, this will improve the stickiness of the tape.
- Do not use excessive heat as it could damage the product or the paint work. We recommend to keep an approximate 30cm distance.
- Sit back and enjoy.
Note: It is essential to check the part is fitted securely before driving off and after your first few drives.
You can also find the video from here
These instructions are for guidance only. We strongly recommend professional fitting. It is your responsibility to ensure the installation is complete in a safe and correct way.
Side Skirt:
- Place the side skirt on the car for initial test fit.
- Once you are happy with the fitment, hold it with masking tape.
- Attach self-tapping screws through the side skirt to the car (We recommend at least 6pc per side)
- Sit back and enjoy.
Note: It is essential to check the part is fitted securely before driving off and after your first few drives.
These instructions are for guidance only. We strongly recommend professional fitting. It is your responsibility to ensure the installation is complete in a safe and correct way.
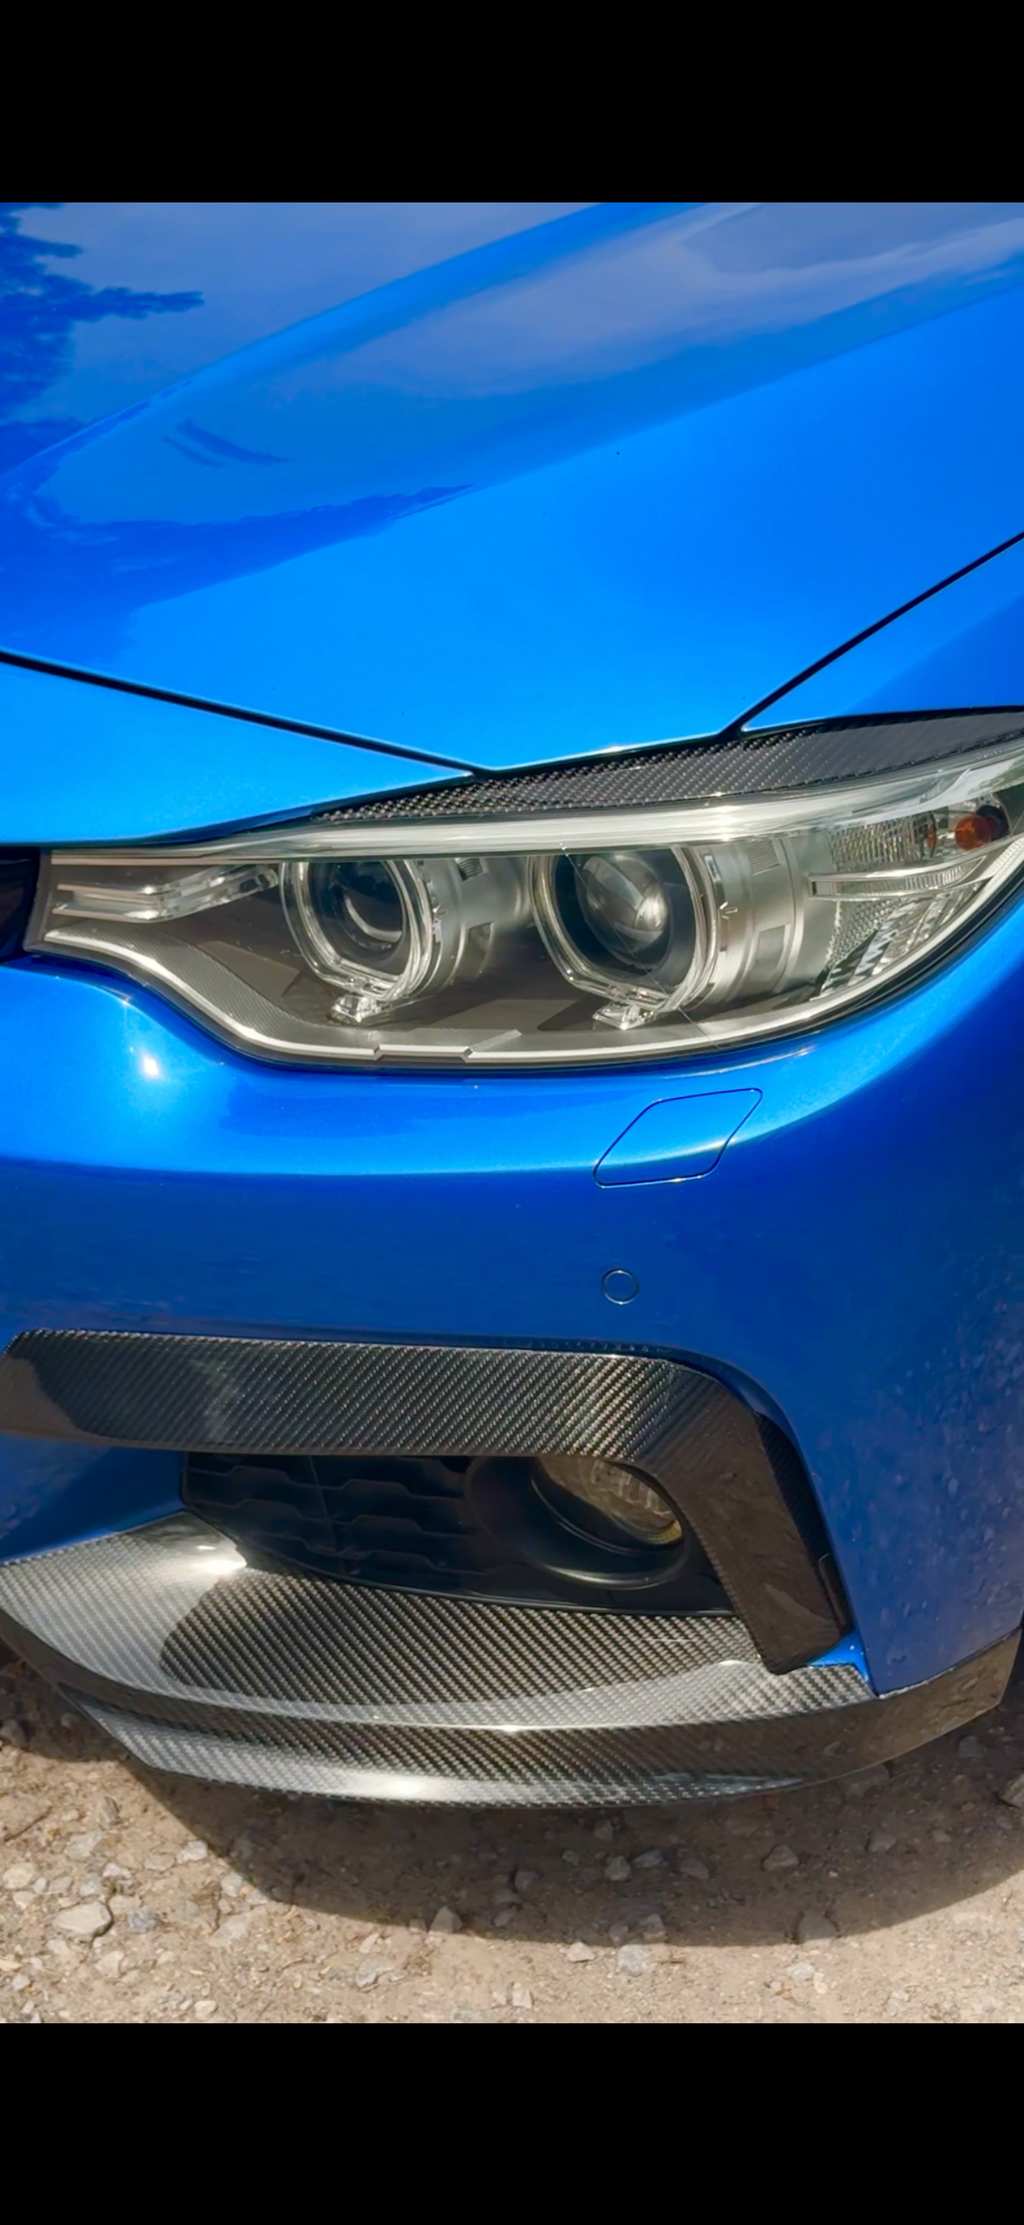
Splitter:
- Place the splitter to the bumper and line it up the car. Both bumper edges should be level. (This should be done by 2 person)
- Once you are happy with the fitment, hold it with masking tape.
- Drill through the splitter and the bottom of the bumper.
- Attach self-tapping screws through the splitter to the car, secure with fasteners, some fitter will also use bolts and nuts. (We recommend at least 6pc per side, and 2 in the middle at the very least)
- Sit back and enjoy.
Note: It is essential to check the part is fitted securely before driving off and after your first few drives.
These instructions are for guidance only. We strongly recommend professional fitting. It is your responsibility to ensure the installation is complete in a safe and correct way.
Rear Diffuser:
- Carefully remove the bumper and the original diffuser.
- Starting from the middle and work outwards, use the original bumper mounting point to mount the diffuser and ensure both sides are equal.
- Once the diffuser is in, put a self-tapper on few the tabs to secure it.
- Check the diffuser is in the correct position, all gaps are equal and refit the bumper back to the car.
- Sit back and enjoy.
Note: It is essential to check the part is fitted securely before driving off and after your first few drives.
These instructions are for guidance only. We strongly recommend professional fitting. It is your responsibility to ensure the installation is complete in a safe and correct way.
Fitting with us