

The BMW F40 generation brought a bold, modern front-wheel-drive architecture to the 1 Series lineage. Packed with advanced tech and sharp chassis dynamics, models like the 118i, 120d, and the range-topping M135i offer a good foundation for modification. However, if you look at a standard factory model fresh off the dealer forecourt, one aesthetic issue immediately stands out: muted silver or bright chrome exterior trim.
Chrome accents might work on an executive saloon, but on a performance hatchback, they take away from the car's aggressive lines. Replacing factory brightwork with dark, high-gloss accents completely changes your vehicle's stance. If you want your hot hatch to look wider, meaner, and lower to the ground, blacking out the exterior details is the essential starting point.
This guide breaks down how to de-chrome your car, lower its visual height, and install targeted styling parts to build a strong street look.
The Ultimate First Step: Swapping the Front Grille
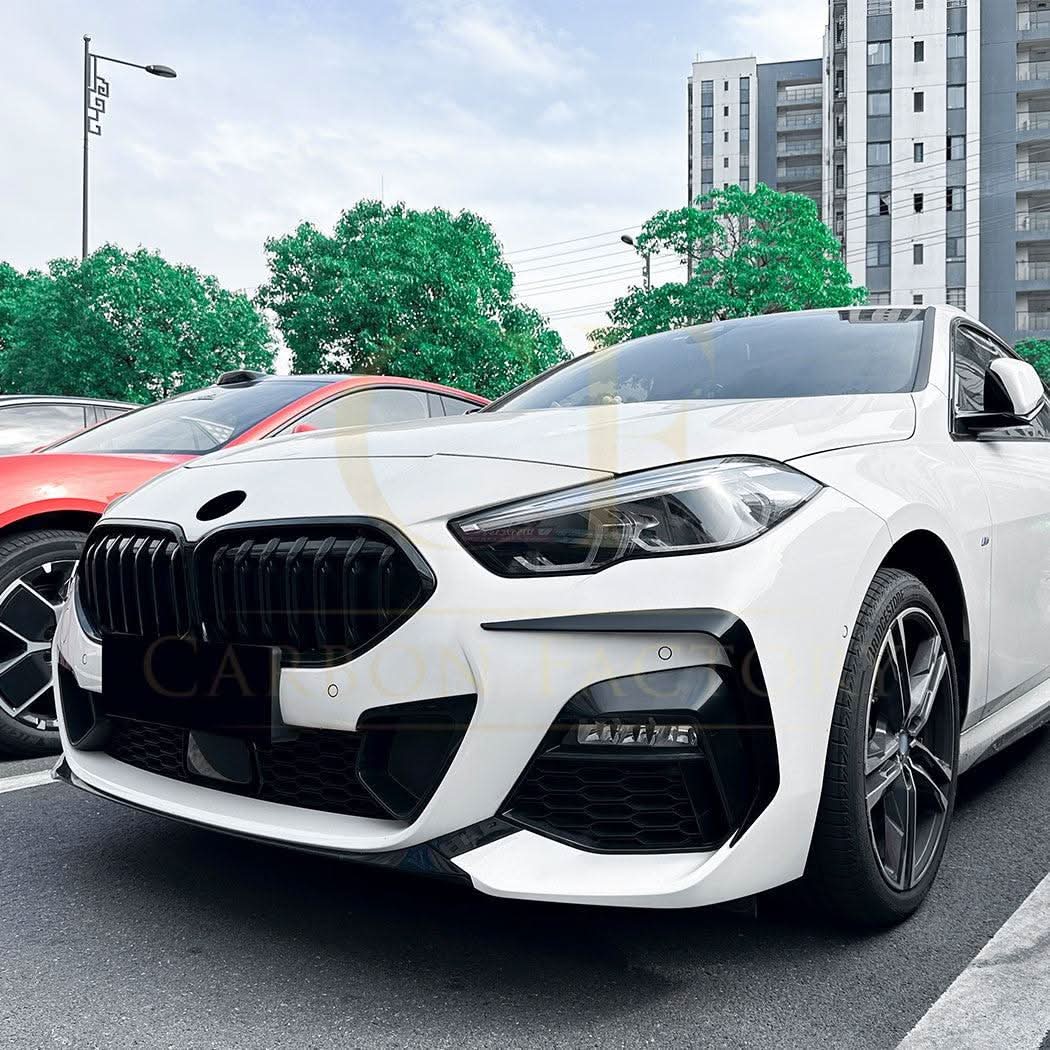
The kidney grille dominates the front bumper of the F40 chassis. Factory specifications often fit silver surrounds or brushed mesh patterns that draw focus away from the car's aggressive headlight geometry. Swapping this central piece yields the single biggest visual impact for your initial budget.
Choosing Between Grille Styles
When upgrading your front bumper profile, you generally have two distinct styling directions:
- Dual Slat Gloss Black Grilles: A classic choice inspired by traditional M-performance cars. Dual vertical bars create a clean, organised look that contrasts sharply against lighter paint colours.
- Meteor/Diamond-Style Grilles: Featuring a geometric mesh matrix, this style reflects the modern design language seen on newer M-Performance models. The high-gloss finish eliminates silver surrounds completely while adding depth to the centre intake.
Installing an upgraded front grille requires basic hand tools. Most aftermarket units use OEM-style clips, allowing you to pop out the factory frame and snap the gloss black unit directly into place without removing the entire front bumper assembly.
Eliminating Muted Silver Accents
Once the central grille is blacked out, remaining silver or satin grey components become even more obvious. To complete the de-chrome, you need to address the smaller perimeter trims around the bodywork.
Sleek Lighting Extensions
Factory headlight housings on the F40 are wide and bright. Adding subtle dark overlays around the upper edges creates an angled eyebrow effect, making the front lighting look more focused.
Integrating gloss black headlight trims ties the front bumper layout together. These accent pieces bridge the gap between your dark front grille and the side wings, giving the front profile a consistent look whether your paint is Mineral Grey, Misano Blue, or Alpine White.
Roof Line and Upper Trim Accessories
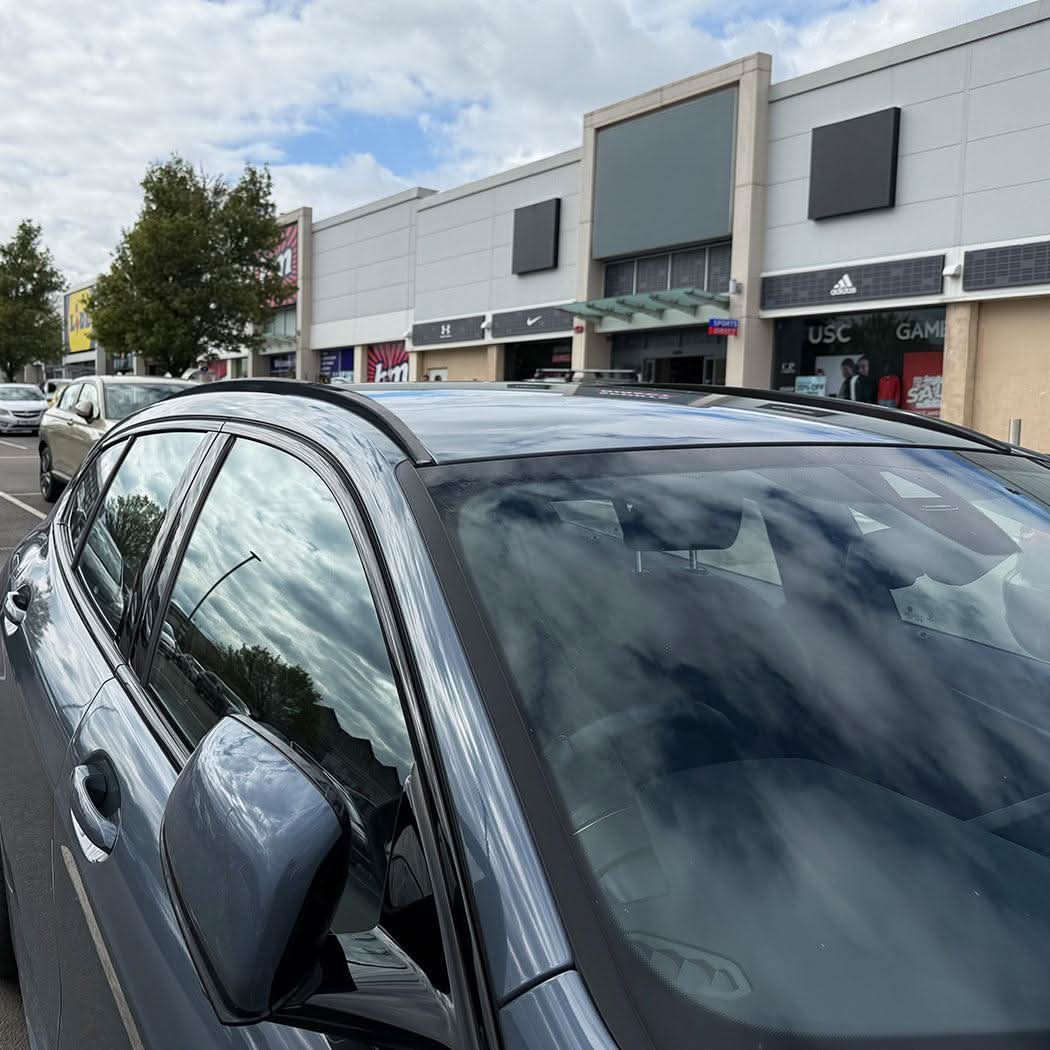
Many owners focus entirely on the lower bumper sections and forget the upper roofline. Bright window surrounds or bare factory roof rails break up the continuous shadow line of the glasshouse.
If your vehicle features exposed top mounting channels, adding Gloss Black Luggage Rack Trims for BMW F40 ensures that even the top of your vehicle matches your blackout theme. Eliminating these minor silver breaks gives the impression of a lower, sleeker roof silhouette.
Achieving a Ground-Hugging Stance
De-chroming fixes colour contrast, but improving vehicle stance requires adding lower aerodynamic extensions. You don't always need aggressive lowering springs or coilovers to make your car look planted; extending the bodywork downward toward the tarmac can achieve a similar visual effect.
1. Front Splitter Extensions
A front splitter mounts directly beneath the factory front bumper. By extending forward by a few inches and dropping the lower lip, it catches the eye and lowers the vehicle's visual centre of gravity.
When selecting a front lip, look for flexible, high-grade ABS plastic construction. Lower splitters take the brunt of road debris, steep driveways, and speed bumps. High-quality ABS offers structural strength without snapping under minor stresses.
2. Side Skirt Diffusers
A front lip alone can make a car look front-heavy if the side profile remains stock height. Side skirt extensions bridge the gap between the front wheels and the rear arches.
Installing MP-Style Gloss Black Side Skirts for BMW F40 extends the factory side sills outward. This creates a dark shadow line along the bottom of the doors, giving your 1 Series a wide, track-ready appearance from every side angle.
| Styling Component | Factory Visual Impact | Upgraded Gloss Black Impact |
|---|---|---|
| Front Grille | Muted chrome or brushed silver frame | Aggressive, wide shadowline presence |
| Headlight Edges | Exposed glass margins | Focused, sleek lighting silhouette |
| Side Sills | High ground clearance look | Planted, ground-hugging profile line |
| Tailgate Spoiler | Flat, rounded hatch finish | Extended roofline with motorsport angle |
Balancing the Rear Profile
Completing an exterior transformation requires bringing the dark theme to the back end. The rear tailgate on the F40 hatch can look flat when left stock, especially above the rear windscreen.
Adding an extended upper wing lifts the rear profile and balances a heavy front splitter setup. Fitting an MP Style Gloss Black Roof Spoiler for BMW F40 extends the roofline backward, giving the hatchback an angled trailing edge that complements lower rear diffusers and exhaust tips.
Complete Aero Packages vs. Piece-by-Piece Builds
When planning your modifications, you can source individual parts over time or install a complete visual kit at once. Fitting components together ensures consistent gloss levels, uniform material quality, and precise alignment between front, side, and rear pieces.
If you prefer to overhaul your car in one go, opting for a pre-configured bundle like the MP Style Gloss Black Kit for BMW F40 provides every key aero piece in one package. This ensures that your front splitter, side skirts, and rear accents fit together with exact colour matching and mounting hardware.
Best Practices for Fitting Aftermarket Trim Parts
To get professional-grade results when modifying your car at home, follow these standard fitting practices:
- Surface Preparation: Clean all paint surfaces with a panel wipe or isopropyl alcohol before test-fitting parts. Oil, dirt, and ceramic coatings prevent mounting tapes from adhering securely.
- Double-Sided Tape Application: Always use high-tack automotive acrylic tape for non-structural trim pieces. Apply firm pressure and allow the adhesive to cure at room temperature for 24 hours before driving in rainy conditions.
-
Mechanical Fixings: Lower aerodynamic parts like front splitters and side diffusers experience significant air pressure at motorway speeds. Always secure these parts using stainless steel self-tapping screws into the underside of your factory bumpers alongside adhesive tape.
Transform Your F40 Today
De-chroming your hatchback is the most effective way to eliminate dated factory styling and achieve a more aggressive street presence. By replacing brightwork with glossy black grilles, sleek trim accents, and low-profile body kits, you turn a standard daily driver into a standout car.
Ready to start blacking out your build? Explore the complete range of precision-fit parts in the BMW F40 Carbon & Gloss Black Collection to find splitters, spoilers, and grilles tailored to your vehicle. You can also view our full catalogue at Carbon Factory to discover styling options across multiple chassis lines. If you have questions about fitment or need advice on choosing parts, visit us to get in touch with our team directly.

Leave a comment
This site is protected by hCaptcha and the hCaptcha Privacy Policy and Terms of Service apply.