

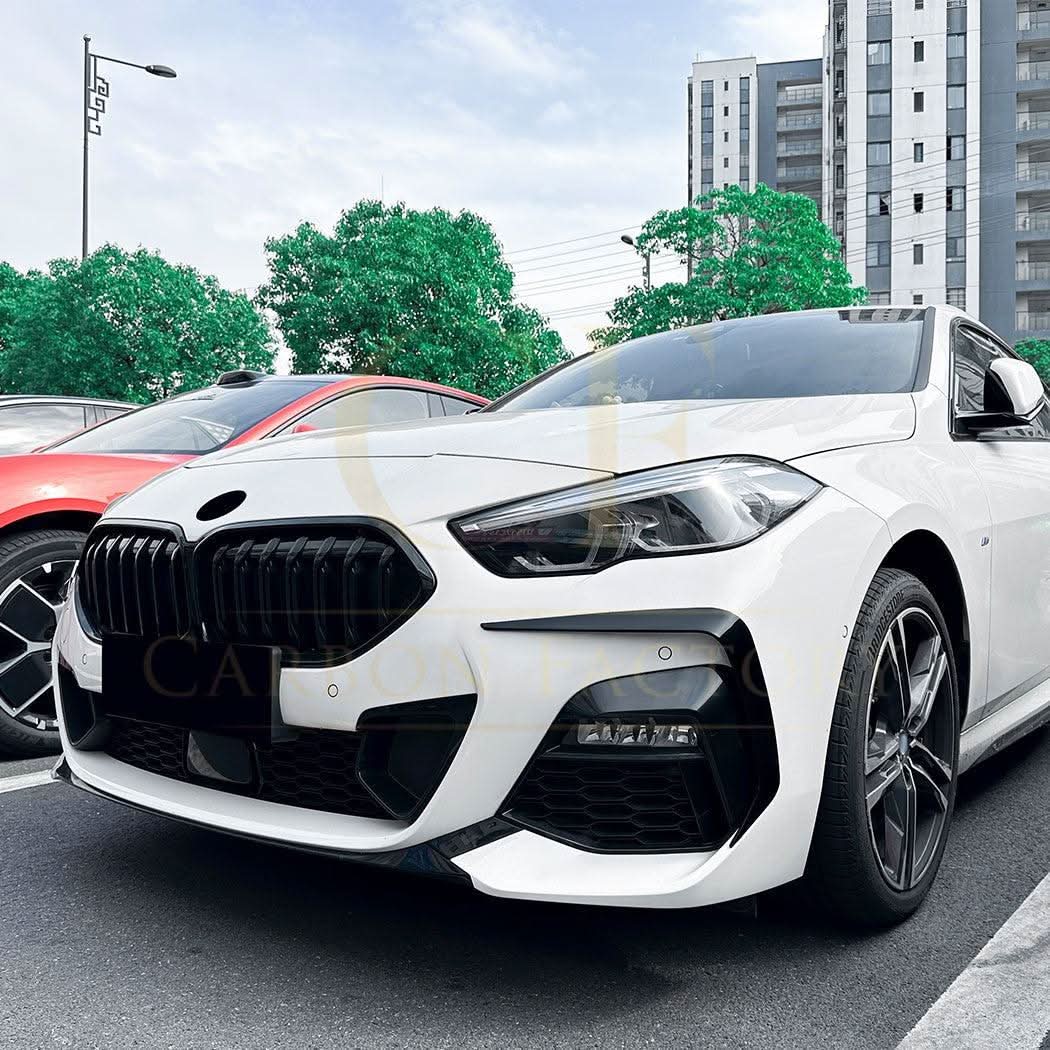
The arrival of the BMW F70 1 Series marks a new chapter for BMW's iconic hatchback segment. The updated proportions, sharper headlight geometry, and refreshed kidney grille give this chassis a strong foundation. However, factory designs always leave room for improvement when it comes to stance, aggressive aesthetics, and track-inspired presence. Standard trim options often feel overly muted for drivers who prefer a bolder appearance.
If you want your hot hatch to look lower, wider, and more aggressive, upgrading to high-quality gloss black and carbon components is the most effective approach. This guide walks through building a complete visual overhaul for the F70 chassis, covering key exterior upgrades, fitment considerations, and styling techniques.
Why the F70 Platform Demands an Aggressive Visual Overhaul
The modern hot hatch market relies heavily on visual differentiation. While performance statistics are impressive straight from the factory, mass-market manufacturing requires compromised styling to appeal to broad audiences. The standard F70 exterior features smooth lines and high ground clearance visual cues that soften its road presence.
By focusing on targeted aerodynamic enhancements and contrasting high-gloss trim pieces, you can accentuate the sharp design language that BMW intended for its M-Lite models.
Key Benefits of Gloss Black Exterior Modifications
- Enhanced Visual Contrast: High-gloss black accents create a sharp contrast against lighter paint options like Alpine White, Brooklyn Grey, or Thundernight Metallic.
- Lower Visual Centre of Gravity: Front splitters and lower body extensions draw the eye down, making the car look lower to the tarmac without changing suspension settings.
- Modernised Trim Finish: Gloss black replaces dull plastic surrounds or bright chrome with a dark finish typical of factory shadowline packages.
Phase 1: Perfecting the Front Stance
The front fascia is the first thing people notice, making it the most important area when building an aggressive street setup. The factory F70 front bumper features prominent air intakes, but the lower section lacks definition. Adding lower aero components widens the front profile and establishes an assertive stance.
1. Front Splitters and Lower Lip Extensions
A front splitter serves as the foundation for any exterior build. By extending forward and slightly downward from the OEM bumper edge, a splitter visually ties the front end to the road surface.
When choosing a splitter for your vehicle, precise fitment is crucial. High-grade ABS plastic or real carbon fibre construction ensures the lip can withstand motorway speeds, air pressure, and minor scrapes without cracking. Beyond the lower splitter, adding dedicated aerodynamic trim helps sharpen the overall front profile.
2. Sharpening the Bumper Profile with Front Canards
Canards (or dive planes) offer a simple way to add track-inspired detail to your front bumper corners. These visual extensions fill the void on the outer edges of the lower air intakes, accentuating the vehicle's width.
- Dual Setup Options: Depending on your preferred level of aggression, you can opt for subtle accent blades or dual-tier canard layouts. For a direct, high-fitment option designed around exact OEM bumper scans, explore the BMW F70 Gloss Black Front Canards (Style A).
- Enhanced Stance: If you prefer a more pronounced winglet profile to complement a larger front lip, consider adding the BMW F70 Gloss Black Front Canards (Style B) to your front-end build.
Phase 2: Refining Front-End Details
Once the primary lower splitter and side canards are fitted, pay attention to the finer trim pieces surrounding the lighting assemblies. Small details often separate a basic modified car from a well-planned build.
Sleek Headlight Surrounds
Modern BMW headlight designs feature large glass surfaces. While functional, they sometimes lack a direct tie-in to dark front grilles or shadowline trims. High-gloss headlight eyebrow overlays and surround trims bridge this gap.
Installing precise BMW F70 Gloss Black Headlight Trims frames the front lighting, making the headlights look slimmer and more focused. These trim overlays fit cleanly using automotive-grade mounting tape, requiring no permanent modifications to your original headlight units.
Phase 3: Profile & Rear Finish
A well-balanced build carries its front-end design language along the side profile and around to the rear end. Upgrading only the front splitter leaves the car looking front-heavy. Balance out your styling upgrades by managing rear airflow profiles and upper tailgate aesthetics.
Rear Boot Spoilers and Wing Extensions
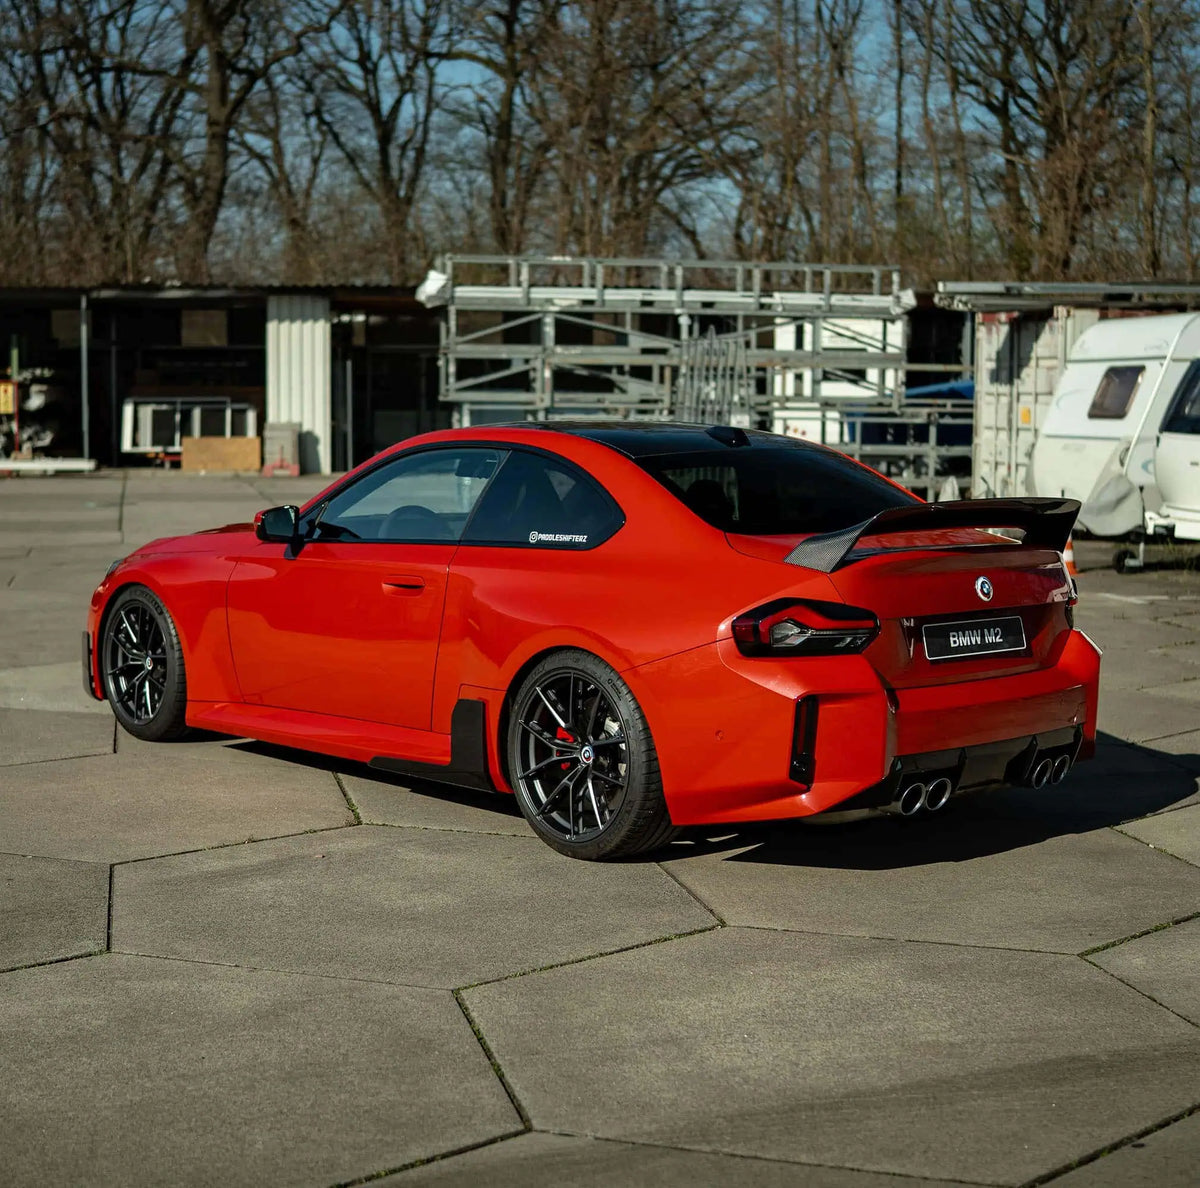
The hatchback profile benefits greatly from an extended roof or boot spoiler. A tailored spoiler balances the lower stance achieved by your front splitter while extending the vehicle's silhouette.
| Spoiler Characteristic | Factory Hatch Profile | Modified Gloss Black Spoiler |
|---|---|---|
| Visual Extension | Ends abruptly at the hatch glass | Extends profile line outward |
| Color Contrast | Standard body shade | High-gloss deep black finish |
| Overall Stance | Rounded, standard hatch look | Angled, motorsport-inspired look |
When selecting rear spoilers across generational designs, dynamic wing profiles similar to those found on the aggressive V-Style Gloss Black Boot Spoiler for F40 Models provides an idea of how dramatic an updated rear wing can transform the hatch geometry.
Fitment, Installation, and Material Selection
Achieving a clean finish relies heavily on proper installation practices and selecting durable parts. High-gloss black parts offer long-lasting UV resistance and simple maintenance, but proper surface preparation during installation makes all the difference.
Material Comparison: ABS Plastic vs. Carbon Fibre
High-Grade ABS Plastic:- Excellent impact flexibility, ideal for low-hanging front lips.
- Factory-finished in uniform gloss black to match gloss trim components.
- Cost-effective while maintaining precise fitment standards.
- Premium woven weave pattern offering maximum strength-to-weight ratio.
- Delivers an authentic motorsport aesthetic.
- Finished with clear coats designed to prevent yellowing over time.
Step-by-Step Installation Tips
- Surface Cleaning: Thoroughly clean all mounting areas using isopropyl alcohol wipes to remove road grime, polish residue, and wax.
- Adhesion Promoters: When using automotive 3M tape for trims or canards, apply liquid adhesion promoter to ensure a permanent bond through weather changes.
- Mechanical Fasteners: Always use self-tapping screws and factory mounting locations for lower splitters and rear diffusers. Never rely solely on double-sided tape for lower aerodynamic components subject to wind force.
Complete Your Build
Transforming your 2025 BMW 1 Series from a factory-spec hatchback into a standout street car comes down to component selection and attention to detail. By combining front splitters, defined canards, sleek headlight trims, and an aggressive rear spoiler, you create a consistent visual theme across every angle of the car.
Ready to start building your setup? Browse the complete selection of precision-engineered exterior parts within the Carbon Factory BMW F70 Styling Range. Whether you are adding subtle gloss black accents or building a complete aero package, explore our full catalogue at Carbon Factory today. If you have questions regarding component fitment, styling combinations, or installation recommendations, feel free to get in touch with our specialists.


Leave a comment
This site is protected by hCaptcha and the hCaptcha Privacy Policy and Terms of Service apply.